


There’s 101 different ways to source chickens for your garden, but none are quite as fun as hatching your own. Some novices decide to give it a go, but more often it’s a choice made by more experienced chicken keepers.
It is extremely likely you will hatch as many male as female chicks and it’s important to have a strategy in place for these. Keeping several cockerels long term is challenging, animal rescues are already bulging and dumping them somewhere is highly unethical.
If you want to keep costs down and hatch your favourite breed though, it could be the perfect option for you. Here’s some pointers to improve your chance of success.
Broody Hen or Incubator?
Many pure breed hens will naturally go broody as the days lengthen and the weather warms. Broodies are the cheapest way to incubate eggs but it does involve having the right bird at the right time.
Sometimes they can get half way through their sitting and lose interest, which would be a total disaster. Incubators tend to be more reliable and you get what you pay for.

Brinsea is the preferred brand in the UK and models that automatically turn the eggs for you are wellworth the extra cost.
Source eggs
If you don’t already have a breeding group of several hens and a cock bird, you will need to source eggs elsewhere. Breeders often sell hatching eggs from their breeding groups over the internet but try to collect them in person if you can. Check out the parent stock while you are there.
The process of being transported via the post or a courier have adverse effects on fertile eggs.

Test Fertility
You can check whether an egg is fertile without incubating it! Simply crack it open onto a clean plate. The yolk will have a white spot called the blastodisc. If it’s a solid spot shape the egg is infertile, if the blastodisc looks like a ring with a dot in the centre, it’s fertile and is then known as a blastoderm!
Perfect eggs
If you are collecting eggs from your own flock, collect them several times a day and clean the nest box daily. This will help to ensure your eggs are as clean as possible which helps minimise pathogens in the process. Store in a dark cool place, pointy end down. Discard any cracked ones and if you are storing for several days, turn regularly.
Go for a dozen
Always try to incubate at least a dozen eggs. If you only set six, you could end up with a single chick. This could stress the chick, and finding a similar aged friend might be very hard.
Here are some quick tips from our hen guru.
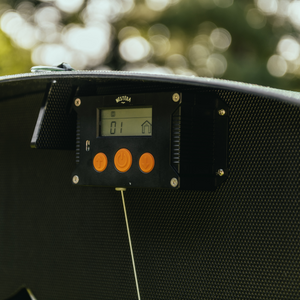
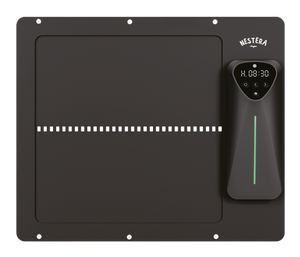
Siting your incubator
Before you start, wash your incubator with hot water and mild detergent, rinse well and disinfect with specialist product. Dry and run empty for at least 48 hours before filling.
Site in a quiet room away from boisterous pets and inquisitive children away from any heat sources or draughts. Check the temperature on the display with a separate sterilised thermometer.
Humidity affects morbidity
In the UK, it is often humid. Many people do not add water when cooking because of the moisture in the air. This is a very contentious topic and some people will do it very differently.
High humidity can cause the egg to retain too much water, leading to the chick drowning when it hatches. High humidity can also cause high levels of bacterial build up.
Ready, Steady, Go!
When everything is finally ready, wash and dry your hands thoroughly and place the eggs in the incubator. The temperature will drop while you do this but don’t panic, it will soon warm up again. Mark day one on the calendar.
Quail take 18 days, bantam chickens 19 days, large fowl chickens 21 days, ducks, turkey and geese 28 days and Muscovy ducks can take over 35 days.
Make a mark on the top of all of the eggs to ensure the turning mechanism is working.

It’s the final countdown!
Three days before your birds are due to hatch, switch off any auto-turn feature and increase the humidity. You can do this by spraying water on the eggs or pouring a small amount into the bottom of the incubator.
Try not to open the incubator until all eggs have hatched or 24 hours have passed since the first one hatched. Chicks absorb the remainder of the egg yolk into their little tummies just before they hatch. This means they don’t need to eat or drink during this time.


